> ## Documentation Index
> Fetch the complete documentation index at: https://docs.researchanddesire.com/llms.txt
> Use this file to discover all available pages before exploring further.

# 3D Printing Parts

> Complete list of 3D printed parts required for your OSSM build, including body components, belt clamps, and toy mounting options

Before you begin assembly, you need to print all required parts. This page lists every component you need to print for a complete OSSM build.

<Note>
  This guide covers the official OSSM build. You can find community modifications in the [OSSM Mods](/ossm/Hardware/ossm-mods) section to customize your build.
</Note>

## Print settings

<Tip>
  For best results, use PETG or ABS with 0.2–0.28 mm layer height, 4–5 perimeters, and 40–60% infill. PLA can work, but it may deform under sustained heat and load. Use 0.4–0.6 mm nozzles, enable supports only where needed, and orient parts so layer lines run across the direction of expected stress (especially for clamps and the middle body).
</Tip>

## Body components

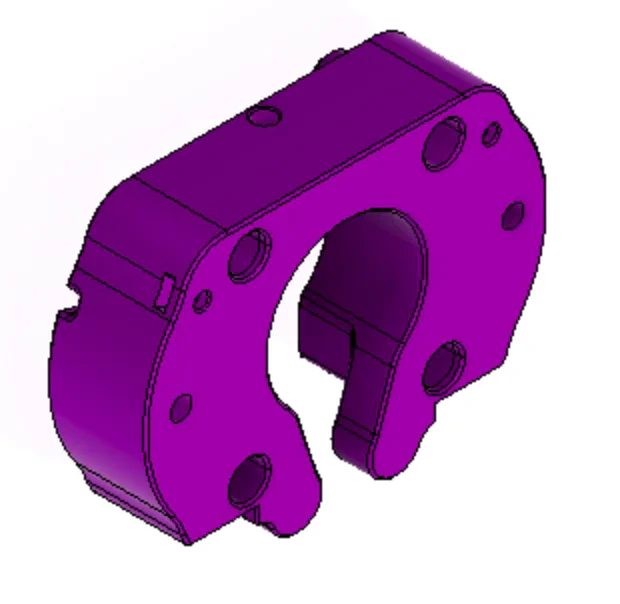
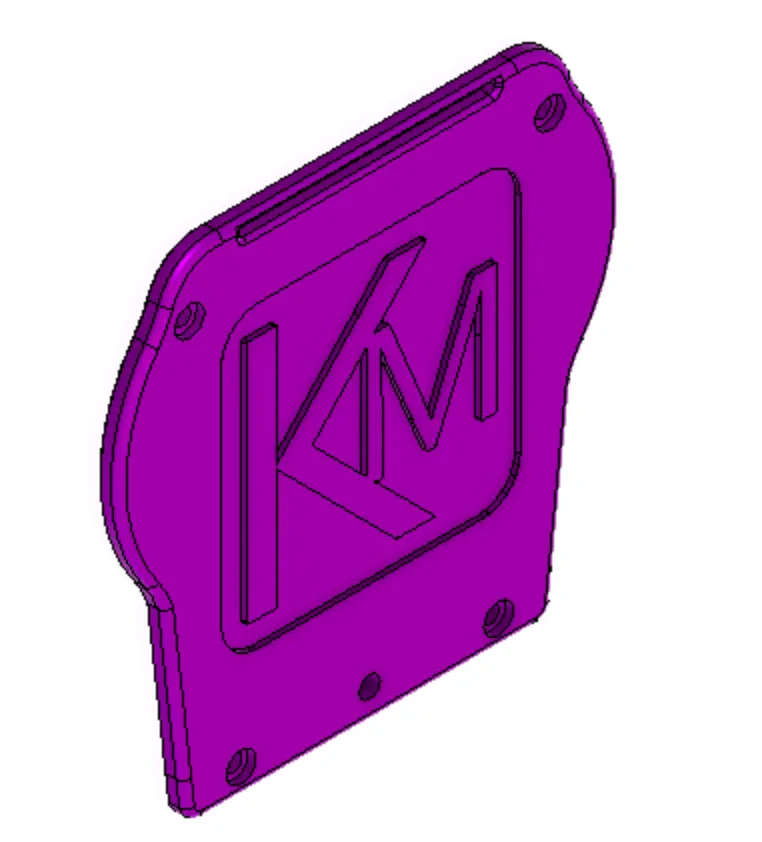
Print one of each body component:
<CardGroup cols={2}>
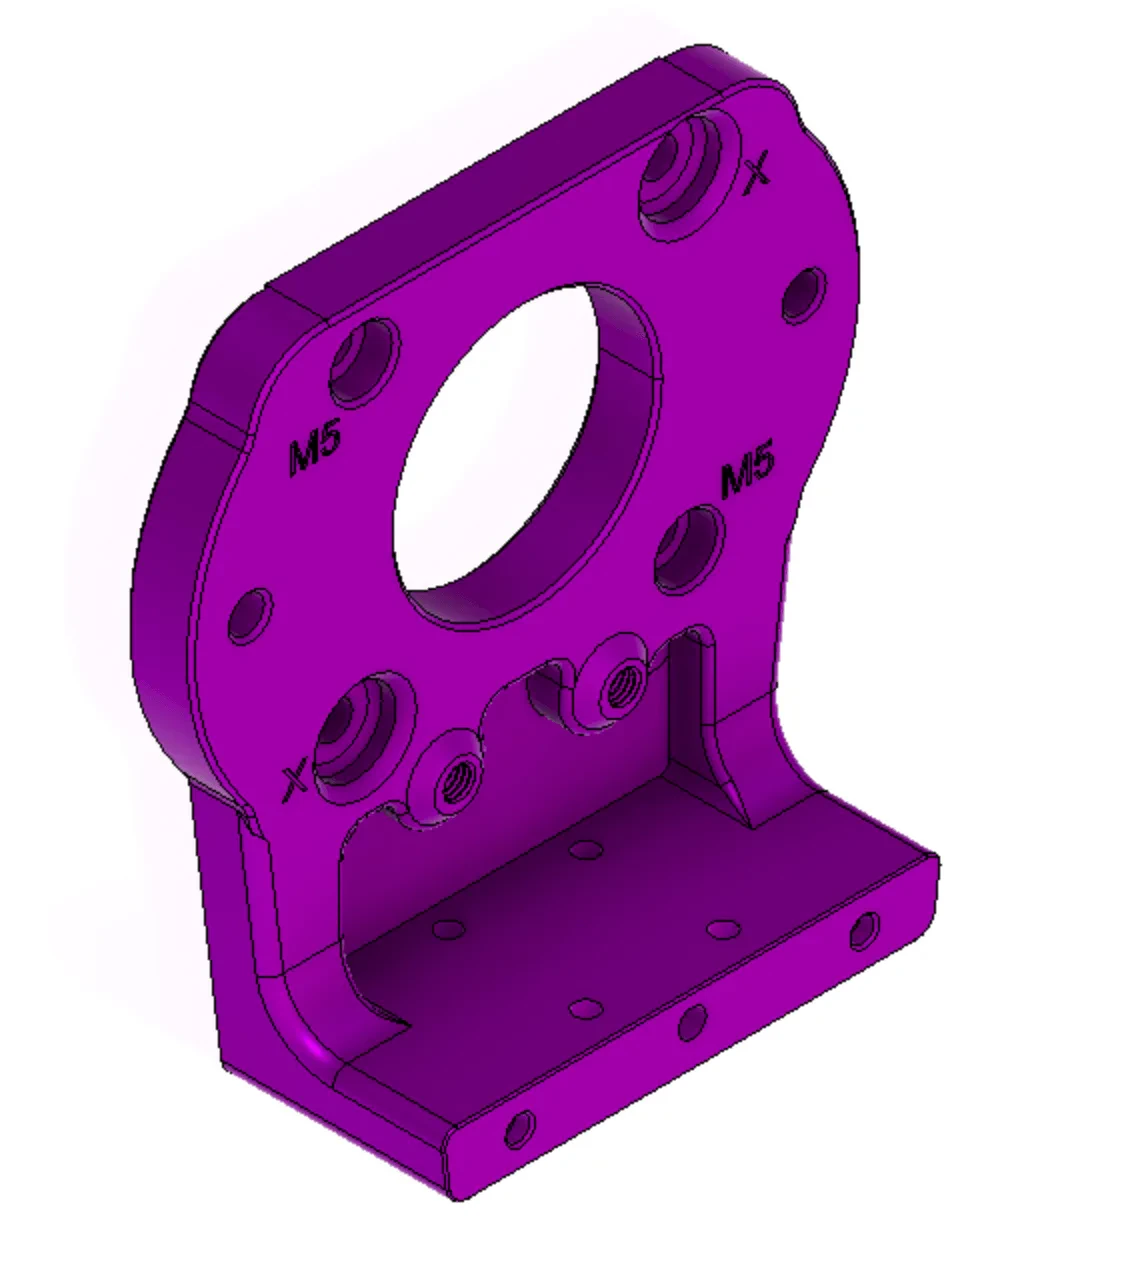
  <Card title="Body – Base (×1)">
    <Frame>
      <img src="https://mintcdn.com/researchanddesire/jJRHG3qMLFJixI5b/ossm/images/_images/legacy_instructions/legacy_assembly_instructions_body_base.webp?fit=max&auto=format&n=jJRHG3qMLFJixI5b&q=85&s=8c3791e20b19403e58417aabe9555e59" alt="OSSM body base piece" style={{ maxHeight:"180px",objectFit:"contain" }} width="1132" height="1280" data-path="ossm/images/_images/legacy_instructions/legacy_assembly_instructions_body_base.webp" />
    </Frame>
  </Card>

  <Card title="Body – Middle (×1)">
    <Frame>
      <img src="https://mintcdn.com/researchanddesire/jJRHG3qMLFJixI5b/ossm/images/_images/legacy_instructions/legacy_assembly_instructions_body_middle.webp?fit=max&auto=format&n=jJRHG3qMLFJixI5b&q=85&s=8736b01dc962b9eef71b669b465974f7" alt="OSSM body middle piece" style={{ maxHeight:"180px",objectFit:"contain" }} width="620" height="604" data-path="ossm/images/_images/legacy_instructions/legacy_assembly_instructions_body_middle.webp" />
    </Frame>
  </Card>

  <Card title="Body – Cover (×1)">
    <Frame>
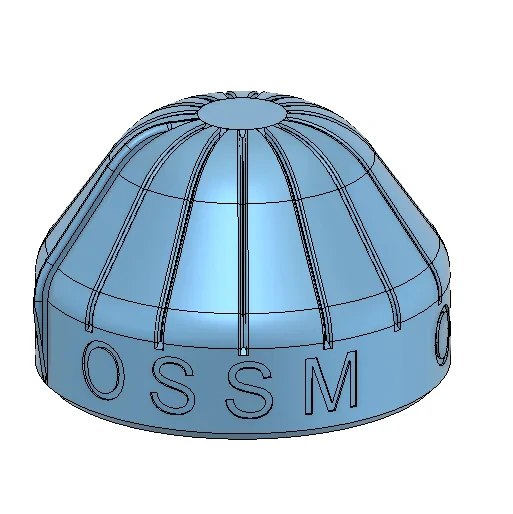
      <img src="https://mintcdn.com/researchanddesire/jJRHG3qMLFJixI5b/ossm/images/_images/legacy_instructions/legacy_assembly_instructions_body_cover.webp?fit=max&auto=format&n=jJRHG3qMLFJixI5b&q=85&s=a4a8215d1823664ce567451c555c8c8b" alt="OSSM body top cover" style={{ maxHeight:"180px",objectFit:"contain" }} width="762" height="842" data-path="ossm/images/_images/legacy_instructions/legacy_assembly_instructions_body_cover.webp" />
    </Frame>
  </Card>

  <Card title="PCB Mount – Lid (×1)">
    <Frame>
      <img src="https://mintcdn.com/researchanddesire/jJRHG3qMLFJixI5b/ossm/images/_images/legacy_instructions/legacy_assembly_instructions_pcb_support_cover.webp?fit=max&auto=format&n=jJRHG3qMLFJixI5b&q=85&s=f3ad5791bdec2597d6e27af79154f8f2" alt="OSSM PCB enclosure lid" style={{ maxHeight:"180px",objectFit:"contain" }} width="723" height="581" data-path="ossm/images/_images/legacy_instructions/legacy_assembly_instructions_pcb_support_cover.webp" />
    </Frame>
  </Card>
</CardGroup>

<Info>
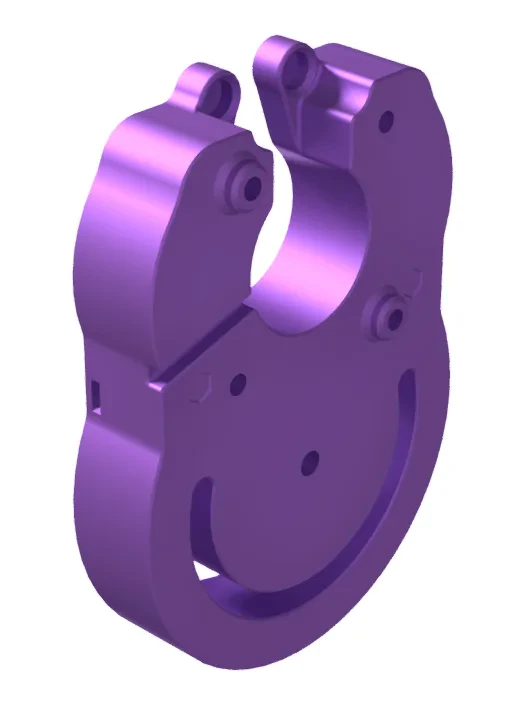
  Alternative center section: print <strong>Body – Middle Pivot (×1)</strong>
  instead of the standard middle if you want mounting flexibility (recommended when using the extrusion stand).
  <Frame>
    <img src="https://mintcdn.com/researchanddesire/jJRHG3qMLFJixI5b/ossm/images/_images/legacy_instructions/legacy_assembly_instructions_body_middle_pivot.webp?fit=max&auto=format&n=jJRHG3qMLFJixI5b&q=85&s=a3506b24609ee9b5054228740be7f2b8" alt="OSSM body middle pivot piece" style={{ maxHeight:"180px",objectFit:"contain" }} width="517" height="710" data-path="ossm/images/_images/legacy_instructions/legacy_assembly_instructions_body_middle_pivot.webp" />
  </Frame>
</Info>

<Note>
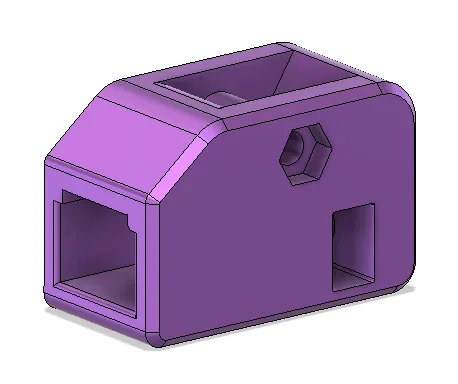
  If you’re printing the PCB enclosure, you need both pieces: <strong>PCB Mount – Box (×1)</strong>
  and <strong>PCB Mount – Lid (×1)</strong>
  . The lid is pictured above; the box prints without supports on its base.
</Note>

## Belt clamps

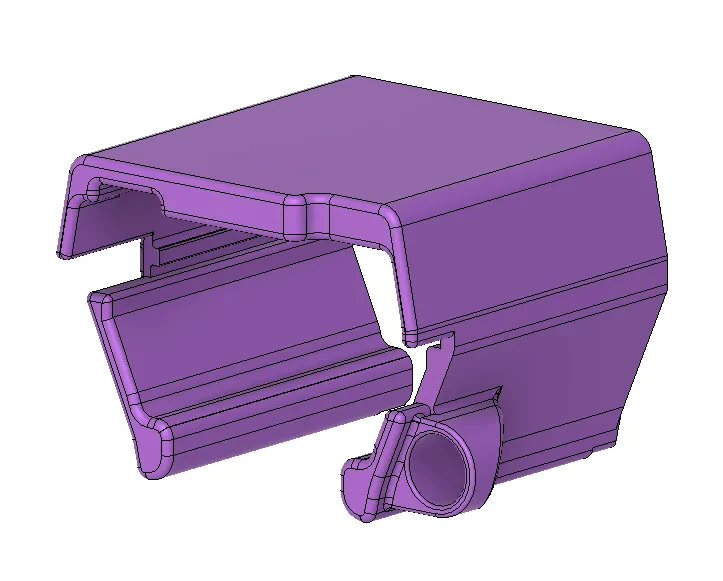
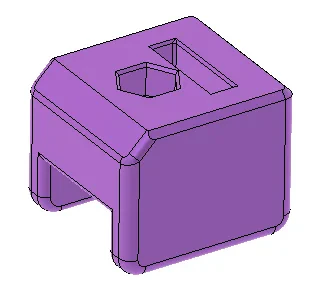
Print one of each belt clamp:
<CardGroup cols={3}>
  <Card title="Belt Clamp – Tensioner End (×1)">
    <Frame>
      <img src="https://mintcdn.com/researchanddesire/HGfUAbc-MQqdP4OM/ossm/images/_images/legacy_instructions/legacy_assembly_instructions_belt_clamp_tension_end.webp?fit=max&auto=format&n=HGfUAbc-MQqdP4OM&q=85&s=629a9a778ece4868f5adeb1a28fc8d56" alt="Belt clamp for the tensioner end" style={{ maxHeight:"150px",objectFit:"contain" }} width="458" height="384" data-path="ossm/images/_images/legacy_instructions/legacy_assembly_instructions_belt_clamp_tension_end.webp" />
    </Frame>
  </Card>

  <Card title="Belt Clamp – Top (×1)">
    <Frame>
      <img src="https://mintcdn.com/researchanddesire/HGfUAbc-MQqdP4OM/ossm/images/_images/legacy_instructions/legacy_assembly_instructions_belt_clamp_top.webp?fit=max&auto=format&n=HGfUAbc-MQqdP4OM&q=85&s=04e8aceac770ec27734546457089299e" alt="Top half of the belt clamp" style={{ maxHeight:"150px",objectFit:"contain" }} width="319" height="286" data-path="ossm/images/_images/legacy_instructions/legacy_assembly_instructions_belt_clamp_top.webp" />
    </Frame>
  </Card>

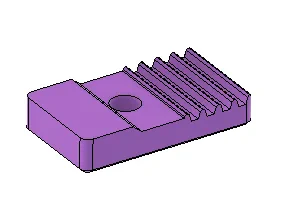
  <Card title="Belt Clamp – Bottom (×1)">
    <Frame>
      <img src="https://mintcdn.com/researchanddesire/HGfUAbc-MQqdP4OM/ossm/images/_images/legacy_instructions/legacy_assembly_instructions_belt_clamp_bottom.webp?fit=max&auto=format&n=HGfUAbc-MQqdP4OM&q=85&s=2d1f60e7feba8937af4d4bc6079a7b2e" alt="Bottom half of the belt clamp" style={{ maxHeight:"150px",objectFit:"contain" }} width="283" height="217" data-path="ossm/images/_images/legacy_instructions/legacy_assembly_instructions_belt_clamp_bottom.webp" />
    </Frame>
  </Card>
</CardGroup>

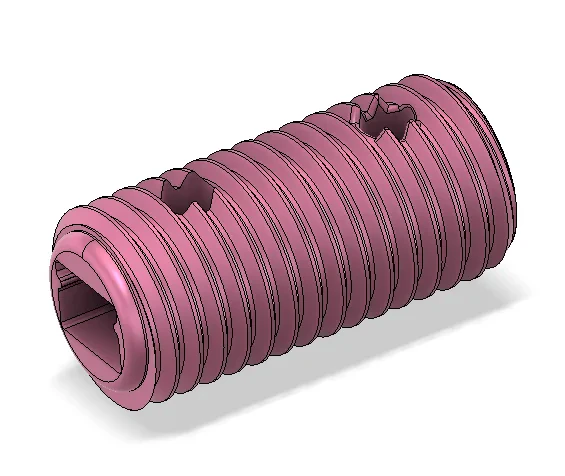
## Toy mount components

Print one of each toy mount part:
<CardGroup cols={3}>
  <Card title="Toy Mount – Rail to 24 mm Thread (×1)">
    <Frame>
      <img src="https://mintcdn.com/researchanddesire/jJRHG3qMLFJixI5b/ossm/images/_images/legacy_instructions/legacy_assembly_instructions_toy_mount_rail_to_24mm_thread.webp?fit=max&auto=format&n=jJRHG3qMLFJixI5b&q=85&s=da39b0c018229647ec7ceb97db178608" alt="Adapter from rail to 24 mm threaded mount" style={{ maxHeight:"150px",objectFit:"contain" }} width="565" height="476" data-path="ossm/images/_images/legacy_instructions/legacy_assembly_instructions_toy_mount_rail_to_24mm_thread.webp" />
    </Frame>
  </Card>

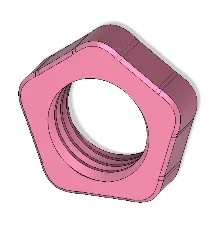
  <Card title="Toy Mount – 24 mm Jam Nut (×1)">
    <Frame>
      <img src="https://mintcdn.com/researchanddesire/jJRHG3qMLFJixI5b/ossm/images/_images/legacy_instructions/legacy_assembly_instructions_toy_mount_24mm_jam_nut.webp?fit=max&auto=format&n=jJRHG3qMLFJixI5b&q=85&s=4706bf2e0d7226edaeb0395ba70b1c7f" alt="24 mm jam nut for threaded toy mount" style={{ maxHeight:"150px",objectFit:"contain" }} width="220" height="225" data-path="ossm/images/_images/legacy_instructions/legacy_assembly_instructions_toy_mount_24mm_jam_nut.webp" />
    </Frame>
  </Card>

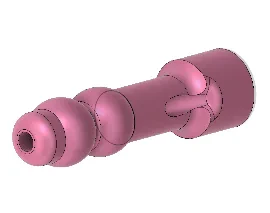
  <Card title="Toy Mount – Vac-u-lock Adapter (×1)">
    <Frame>
      <img src="https://mintcdn.com/researchanddesire/jJRHG3qMLFJixI5b/ossm/images/_images/legacy_instructions/legacy_assembly_instructions_vac_u_lock_adapter.webp?fit=max&auto=format&n=jJRHG3qMLFJixI5b&q=85&s=d895960715d75f6e413d9be64a603561" alt="Vac-u-lock adapter" style={{ maxHeight:"150px",objectFit:"contain" }} width="270" height="213" data-path="ossm/images/_images/legacy_instructions/legacy_assembly_instructions_vac_u_lock_adapter.webp" />
    </Frame>
  </Card>
</CardGroup>

<Info>
  Additional mounting options you can print:

  * <strong>Flange Base (×1)</strong>
    for suction-cup toys with flanges
  * <strong>Flange Rings 2" and 2.5" (×1 each)</strong>
    to secure different flange sizes
  * <strong>Double Double Adapter (×1)</strong>
    for extended Vac‑u‑lock compatibility
</Info>

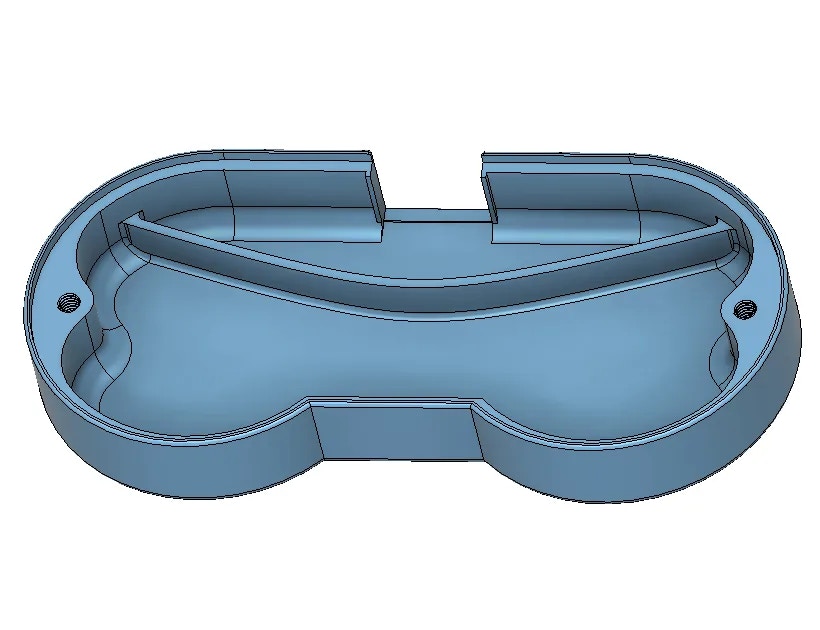
## Remote components

Print one remote body, one top cover, and two knobs:
<CardGroup cols={3}>
  <Card title="Remote Body (×1)">
    <Frame>
      <img src="https://mintcdn.com/researchanddesire/jJRHG3qMLFJixI5b/ossm/images/_images/legacy_instructions/legacy_assembly_instructions_remote_body.webp?fit=max&auto=format&n=jJRHG3qMLFJixI5b&q=85&s=6719fe58a51381c0227e2eb2fc647c78" alt="Remote body enclosure" style={{ maxHeight:"150px",objectFit:"contain" }} width="820" height="630" data-path="ossm/images/_images/legacy_instructions/legacy_assembly_instructions_remote_body.webp" />
    </Frame>
  </Card>

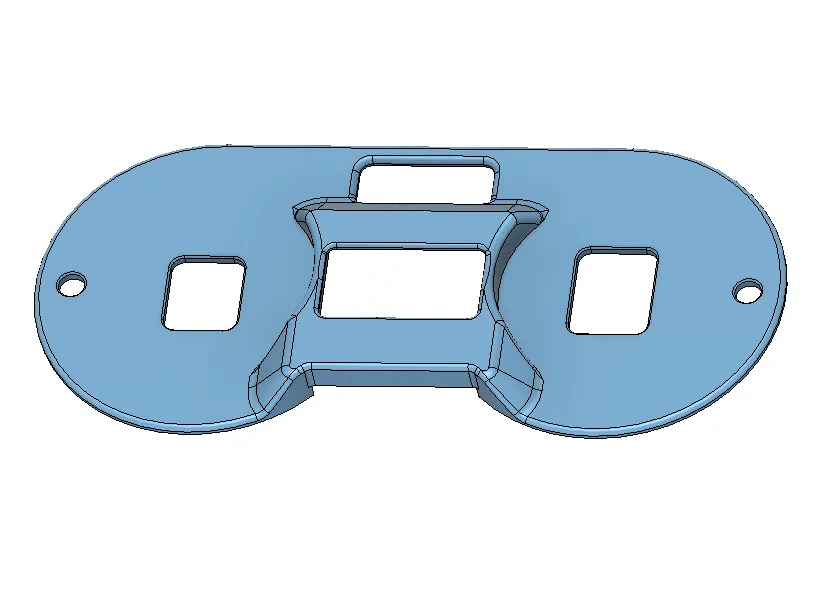
  <Card title="Remote Top Cover (×1)">
    <Frame>
      <img src="https://mintcdn.com/researchanddesire/jJRHG3qMLFJixI5b/ossm/images/_images/legacy_instructions/legacy_assembly_instructions_remote_top_cover.webp?fit=max&auto=format&n=jJRHG3qMLFJixI5b&q=85&s=456947c8701e07fbe85b8135116b6f18" alt="Remote top cover" style={{ maxHeight:"150px",objectFit:"contain" }} width="833" height="607" data-path="ossm/images/_images/legacy_instructions/legacy_assembly_instructions_remote_top_cover.webp" />
    </Frame>
  </Card>

  <Card title="Remote Knobs (×2)">
    <Frame>
      <img src="https://mintcdn.com/researchanddesire/jJRHG3qMLFJixI5b/ossm/images/_images/legacy_instructions/legacy_assembly_instructions_remote_knobs.webp?fit=max&auto=format&n=jJRHG3qMLFJixI5b&q=85&s=85a1b9a60d3b9e63d3745e82d1aa1c07" alt="Two rotary encoder knobs for the remote" style={{ maxHeight:"150px",objectFit:"contain" }} width="513" height="514" data-path="ossm/images/_images/legacy_instructions/legacy_assembly_instructions_remote_knobs.webp" />
    </Frame>
  </Card>
</CardGroup>

## Parts checklist

Use this list to verify you’ve printed everything needed for the official build:

* Body – Base (×1)
* Body – Middle (×1)
* Body – Cover (×1)
* PCB Mount – Box (×1) and Lid (×1)
* Belt Clamp – Tensioner End (×1)
* Belt Clamp – Top (×1)
* Belt Clamp – Bottom (×1)
* PitClamp v1.1 – 57AIM Ring (x1), Lower Standard (x1), Upper + Handle (x1), Hex Dogbone (x1), Round Dogbone (x1)
* Toy Mount – Rail to 24 mm Thread (×1)
* Toy Mount – 24 mm Jam Nut (×1)
* Toy Mount – Vac‑u‑lock Adapter (×1)
* Optional: Flange Base (×1)
* Optional: Flange Rings 2" (×1) and 2.5" (×1)
* Optional: Double Double Adapter (×1)
* Remote Body (×1)
* Remote Top Cover (×1)
* Remote Knobs (×2)

<Check>
  You’re ready to build once every item above is printed and cleaned up. Do a quick dry-fit of the PCB in its mount and test that the jam nut threads smoothly onto the 24 mm adapter.
</Check>

<Note>
  No printer? You can purchase a complete printed parts kit here: <a href="https://www.researchanddesire.com/products/ossm-3d-printed-part-kit">3D Printed Parts Kit for OSSM</a>

  .
</Note>

## Next steps

When your prints are finished, continue to assembly in <a href="/ossm/guides/getting-started/build-guide/step-2.0_rear_tensioner">Step 2: Rear Tensioner Assembly</a>

.