

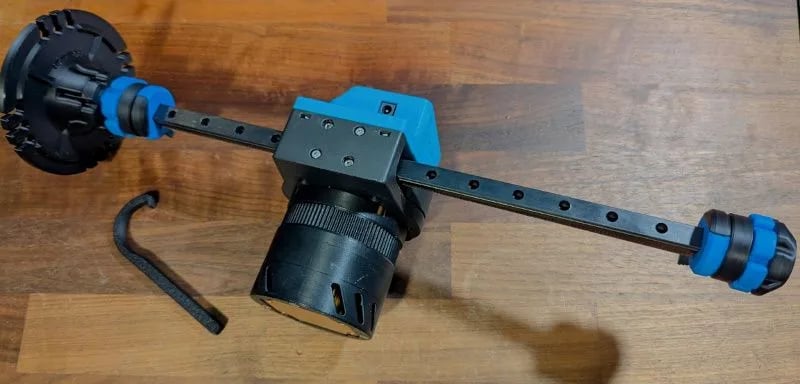
PitClamp Mini Reinforced 3030 Hinges - Assembled
Assembly video
Watch the full assembly walkthrough to see how all components fit together.Printing
This variant uses the standard PitClamp Mini print settings with an additional wall on the Ring component.Print settings
Recommended filament: PLA+ for optimal strength and durability.
Print-in-place option
If your printer is well calibrated and your material has optimal layer adhesion, you can use the print-in-place Upper+Handle variant. Find this in the/Non-Standard folder—it’s included in the Generic 3MF file by default.
Critical area reinforcement
For maximum strength, use a cube modifier to force 100% infill at the critical stress area shown below.Bill of materials
This BOM is per side—double all quantities for a complete two-sided installation.Hinge pin hardware
Lever dogbones and handle
- Print-in-place Upper+Handle
- Separate Upper + Handle
Lower reinforced sidemount and ring
Pre-made kits
If you prefer a complete kit with printed parts and hardware, you can purchase one from the community:PitClamp Mini Reinforced 3030 Hinge Kit
Complete print and hardware kit available on Etsy
Reference images

Component overview