

Why PlatformIO?
- More time for features — less time wrestling with dependencies
- Easier collaboration — consistent development environment for every contributor
- Automatic dependency resolution — libraries fetched and pinned for reproducible builds
- Code intelligence — autocomplete, linting, and inline error detection
Prerequisites
- VS Code installed
- USB data cable for your board (charge-only cables will fail to upload)
- Board drivers installed if required by your OS (e.g., CP210x or CH340)
The reference OSSM board uses an embedded Espressif ESP32 Dev Module.
Installation
1
Install VS Code and PlatformIO
Install VS Code, then add the “PlatformIO IDE” extension from the VS Code Marketplace. After installation, restart VS Code to activate PlatformIO.
You should see the alien-head PlatformIO icon in the Activity Bar on the left.
2
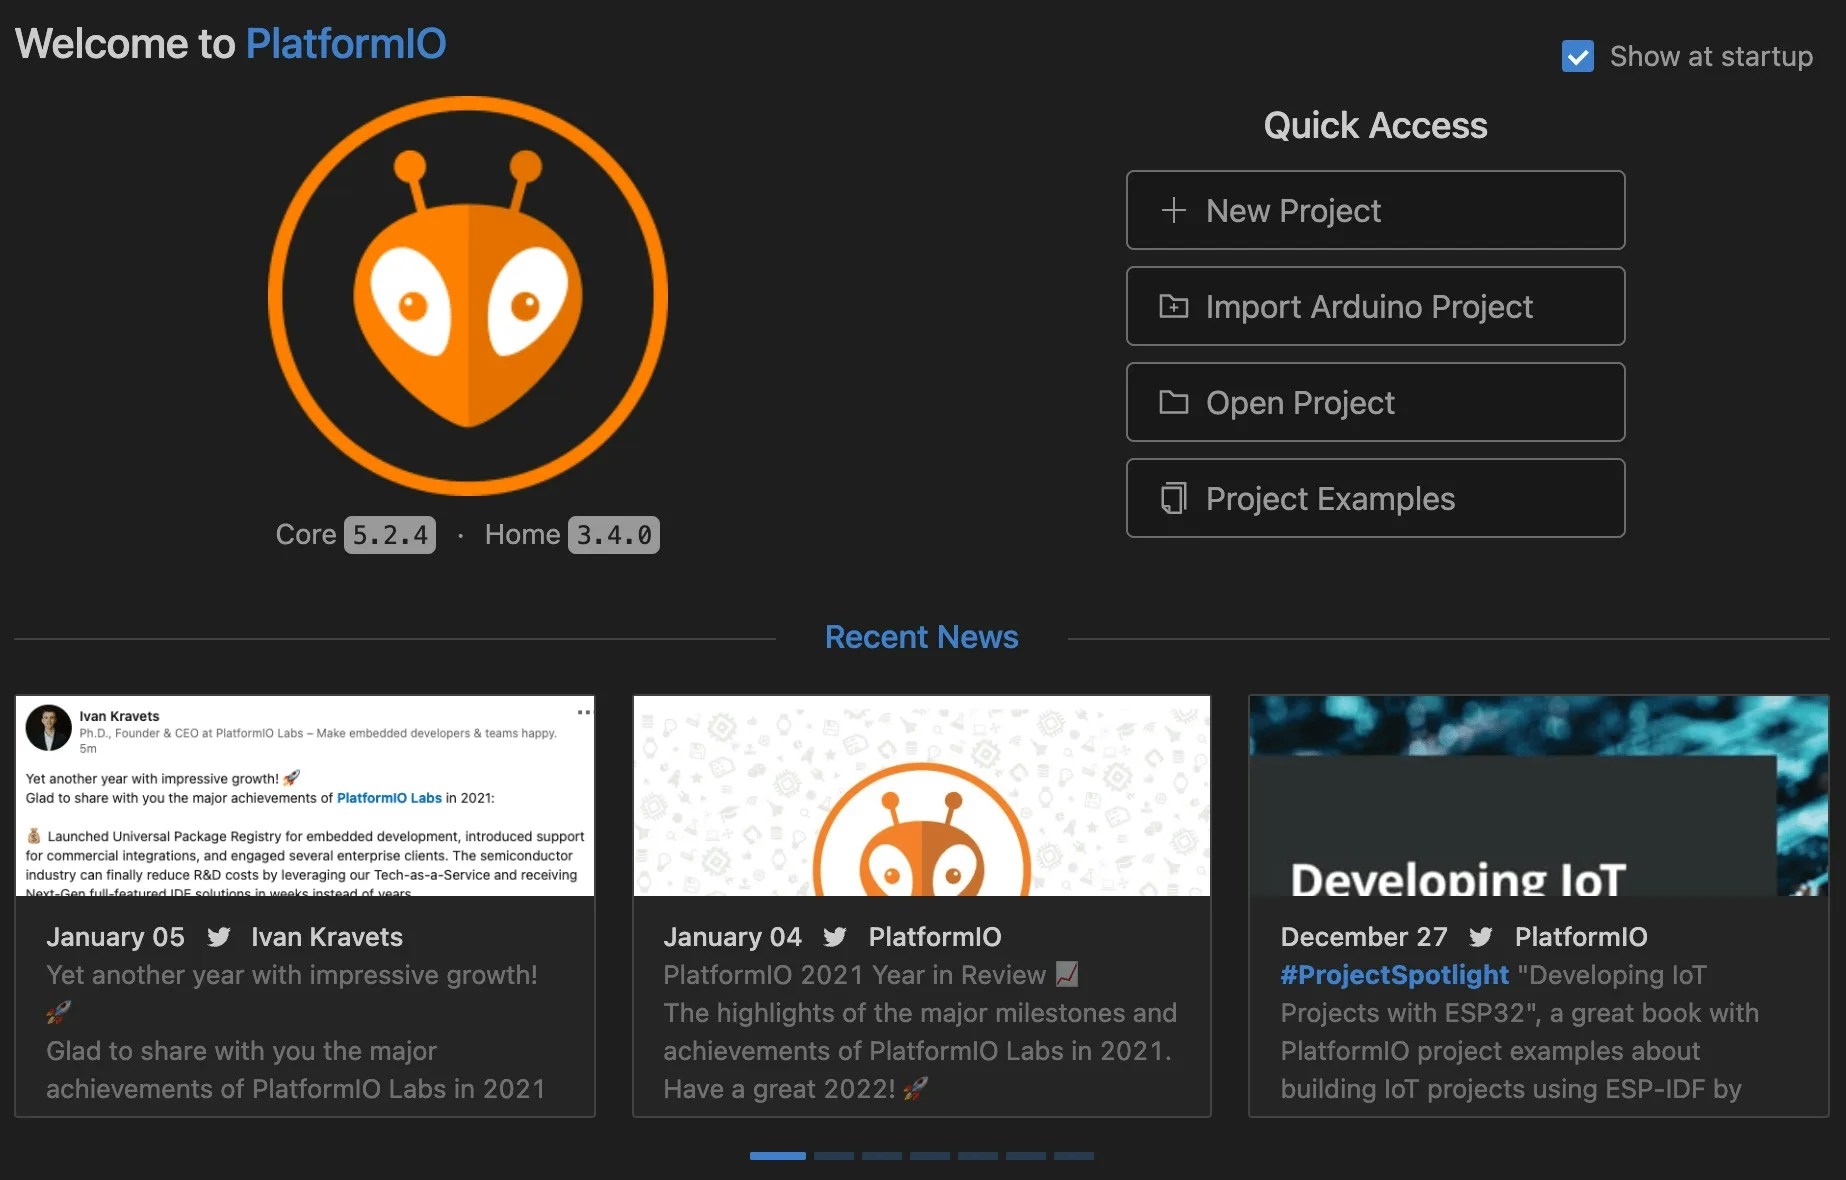
Open PlatformIO Home
Click the PlatformIO icon to open PlatformIO Home.
3
Open the OSSM project
From PlatformIO Home, select “Open Project” and choose the OSSM folder that contains 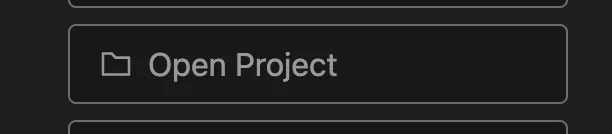

platformio.ini (lowercase).The Explorer should show
platformio.ini, a src/ folder, and a lib/ folder.4
Select the correct environment (if applicable)
If the project defines multiple environments in
platformio.ini (e.g., different boards or build options), use the environment selector in the VS Code Status Bar (usually labeled with the active environment) to pick the one that matches your board.If there is only one environment, PlatformIO selects it automatically.
5
Open the firmware entry point
Open 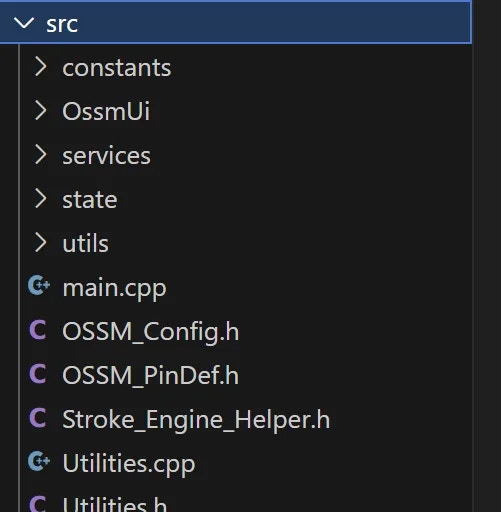
src/main.cpp to review the firmware source.6
Build and upload the firmware
Use the ✓ (Build) icon to compile and the → (Upload) icon to flash the board. These controls are in the Status Bar at the bottom of VS Code.
- Build first to catch errors locally, or upload directly to compile and flash in one step.
- Ensure your board is connected and the correct serial port is selected.
A successful build ends with
SUCCESS in the terminal. A successful upload shows Hash of data verified or a similar confirmation from the ESP32 uploader.Common tasks
- Select serial port: PlatformIO → Quick Access → “Select Serial Port”.
- Monitor serial output: Click the plug icon (Monitor) in the Status Bar, or run
PlatformIO: Monitorfrom the Command Palette. - Clean build: Run
PlatformIO: Cleanto remove compiled artifacts before rebuilding.
Troubleshooting
Upload fails or board not detected
Upload fails or board not detected
The most common causes are an incorrect serial port or board configuration.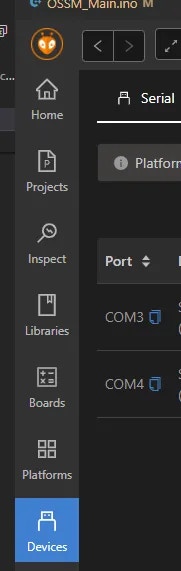
Check your serial port
On Windows, the board appears asCOMx. On macOS/Linux, it appears under /dev/tty.* or /dev/cu.*.Set the port in PlatformIO:The reference OSSM board target is Espressif ESP32 Dev Module. Ensure your
platformio.ini environment uses the correct board setting for ESP32.Build fails due to library or platform updates
Build fails due to library or platform updates
An update to a platform or library may introduce breaking changes. Pin versions in
platformio.ini to restore a known-good configuration.platformio.ini
Serial monitor shows gibberish
Serial monitor shows gibberish
This usually indicates a baud rate mismatch.
- Check
monitor_speedinplatformio.ini(e.g.,115200) - Make sure the firmware and Serial Monitor use the same baud rate
Stuck in connecting… during upload
Stuck in connecting… during upload
- Hold or tap the board’s BOOT/EN buttons as required by your ESP32 module
- Press reset after upload completes if the board does not auto-restart
- Disconnect other apps that might be using the same serial port
If you run into issues not covered here, capture the full PlatformIO build/upload log from the VS Code Terminal and include it when asking for help. The log contains the selected environment, platform versions, and exact error messages.